
Teaching Kids to Throw Correctly
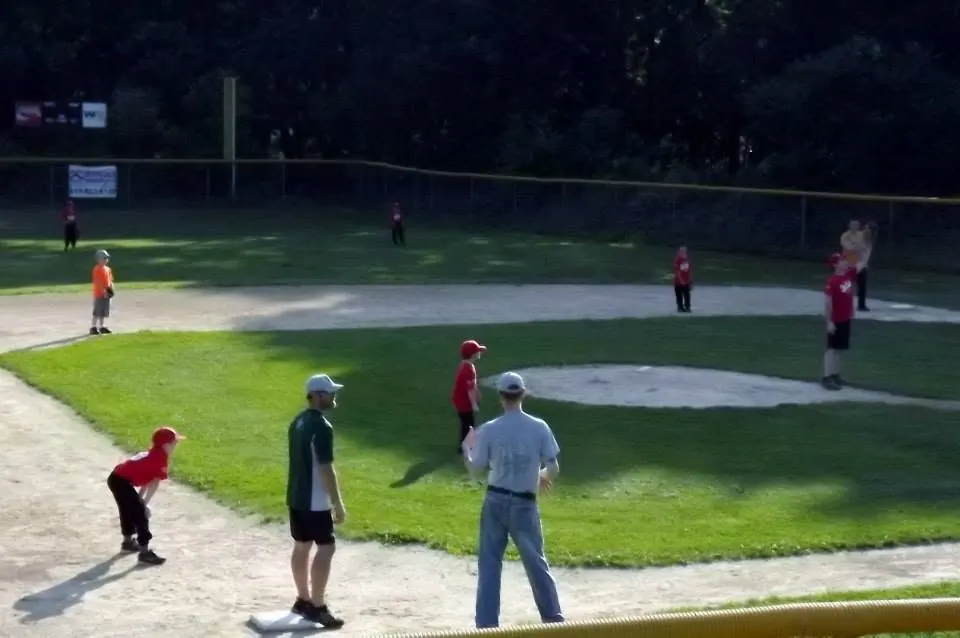
Throwing is the most basic skill in baseball and softball, and one of the easiest to learn incorrectly. Young players who develop poor throwing habits often struggle with accuracy and may put extra stress on their arms. The good news is that sound throwing mechanics can be taught at home in the backyard with a few simple steps.
Start with the grip
For young players, a simple grip works best. Hold the ball with the index and middle fingers on top and the thumb underneath. For older players, coaches will teach the four-seam grip, with fingers across the seams, which helps the ball travel straight. Avoid letting children hold the ball deep in the palm, which reduces control.
For softball, younger players with smaller hands may need to use three or even four fingers on top. That is fine. Control matters more than perfect form at this stage.
Point and step
Teach players to turn their body sideways so their glove-side shoulder points at the target. From there, the glove arm points toward the target while the throwing arm reaches back. The front foot then steps toward the target as the throw begins.
A common phrase is "point, step, throw." Simple cues like that help children remember the sequence.
Use the whole body
A strong, accurate throw comes from the legs and hips, not just the arm. As the front foot steps toward the target, the hips and shoulders rotate, and the arm follows. The throwing hand finishes across the body, often near the opposite knee or hip.
Players who throw only with their arm tend to throw weakly and may strain their shoulders and elbows. Teaching them to use their lower body protects the arm and adds power.
Elbow up
A common problem for young throwers is a low elbow. When the elbow drops below the shoulder during the throwing motion, it places extra stress on the arm and reduces accuracy. Encourage players to keep the elbow at or slightly above shoulder height as the arm comes forward.
Follow through
After releasing the ball, the throwing arm should continue across the body, and the back leg often comes forward. A full follow-through helps slow the arm down gradually and protects it from injury.
Simple drills
- Knee throws: kneeling on the throwing-side knee, players focus on upper-body mechanics.
- Stand-and-throw: players start sideways and practice the step and rotation.
- Target throws: set up a target, such as a bucket or a coach's glove, and challenge players to hit it.
- Long toss at a sensible distance: once mechanics are solid, gradually increasing distance builds strength.
Protect young arms
Arm injuries in young players are often caused by overuse. Children should take breaks from throwing, avoid pitching on multiple teams at the same time and follow recommended pitch limits. If a child complains of elbow or shoulder pain, stop throwing and have them evaluated. Pain is never something to throw through.
Make it fun
Playing catch should be enjoyable. Keep sessions short, celebrate good throws and turn practice into games. Count how many catches in a row you can make, or play a simple accuracy game. A child who enjoys throwing will practice more and improve faster.